
 悩む人
悩む人Notionが気になるけど、難しそう
触ってみたけどいまいちよく分からなかった…
Notionはさまざまな機能を持つメモアプリですが、あまりの機能の多さにはじめは困惑してしまうこともあるかもしれません。
この記事では、勉強や仕事の効率化に役立つNotionの基本的な使い方を、具体例で解説します。
 りわ
りわ便利に使える場面ごとに紹介するので、ぜひ手を動かしながらあなたのワークスペースを作ってみてください!
Notionでやってみよう①メモを取る
りわ「Notionで何ができるの?」という方は、まずこちらの記事をどうぞ。
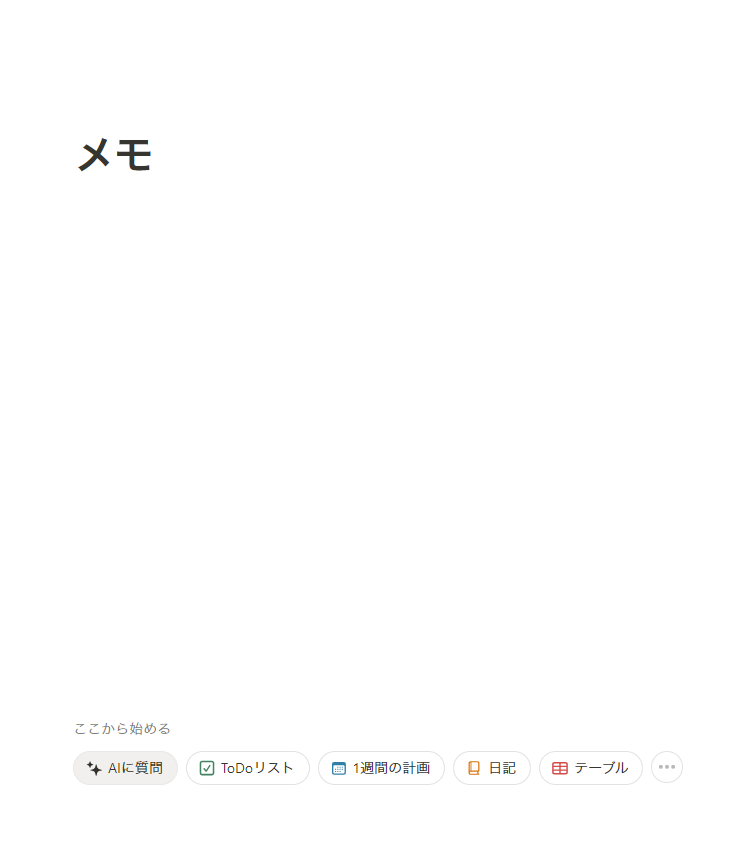
まずはNotoinでメモ用のページを作ってみましょう。

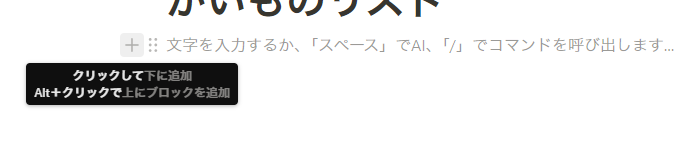
タイトルはページを作るとすぐに入力できます。
+ボタンと点6個、案内文が現れます。
これがNotionにおける「ブロック」と呼ばれるもので、Notionの構成要素の最小単位になります。
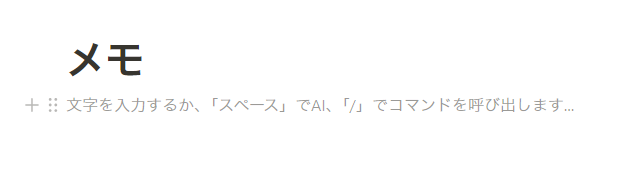
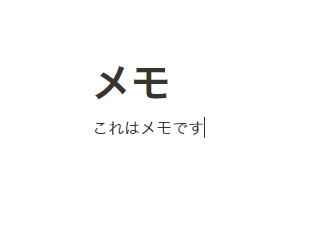
デフォルトではブロックタイプが「テキスト」になっているので、そのまま文字を入力できます。
「ブロック」「ページ」「ワークスペース」の関係性
「ブロック」や「ページ」という言葉が出てきました。
ここで、Notionの仕組みを解説します。
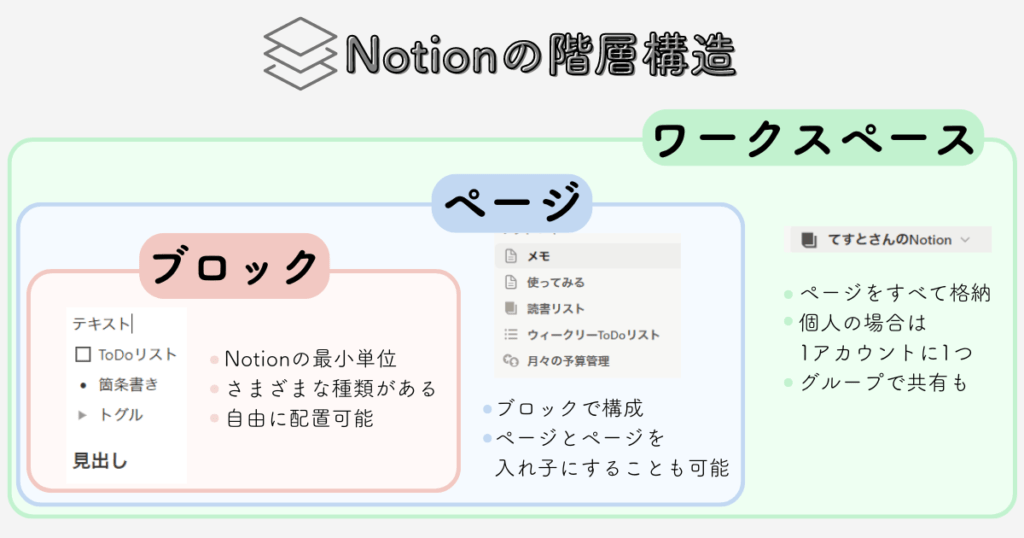
「ワークスペース」は「ページ」でできており、「ページ」は「ブロック」でできているという風に、階層構造になっています。
この構造を覚えると、自分でワークスペースをカスタマイズしていくことができます。
Notionでやってみよう②買い物リストを作る
買い物リストを作って、ブロックのカスタマイズ方法を見てみましょう。
先ほどの「メモ」ページの作り方と同じです。
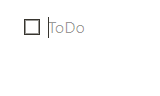
カーソルを合わせると下のように表示されます。
クリックするとメニューが出てきます。

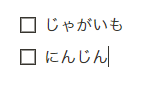
チェックボックスが現れます。
チェックボックスは改行で増やせます。
 りわ
りわチェックボックスはクリックでチェックを入れられます。
スマホアプリ版を入れておけば、外出先で確認できますね!
ブロックの種類を変えれば、さまざまな形に応用ができます。
好きなブロックを組み合わせれば、自分だけのページが作れます。
Notionでやってみよう③テンプレートで読書記録を付ける
ここまでは自分でページを作る方法を見てきましたが、Notionにはたくさんの「テンプレート」が用意されています。
テンプレートとは、Notion公式やユーザーが公開している、あらかじめブロックが配置されたページのことです。
 りわ
りわテンプレートを使うと、自分の知らない便利な機能を知ることができ勉強になります。
「リーディングリスト」を例に、テンプレートとデータベースを使う方法を見ていきます。
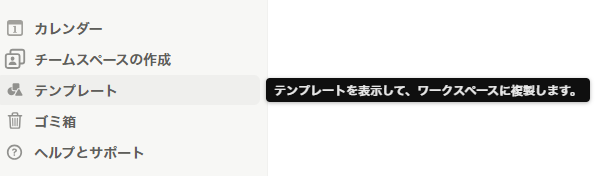
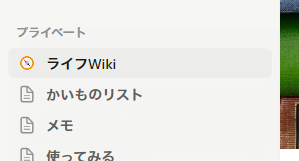
「テンプレート」はサイドバーにあります。
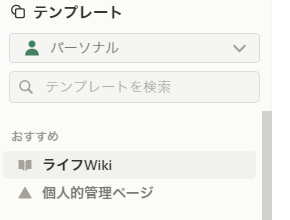
今回使う「読書リスト」は「ライフWiki」というテンプレートの中に含まれています。
左上のドロップダウンリストで「パーソナル」を選び、「ライフWiki」を選択します。
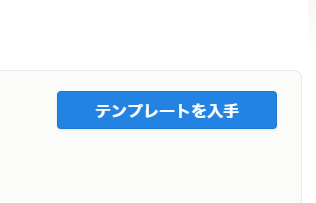
右下の「テンプレートを入手」をクリックします。
ワークスペースに「ライフWiki」が追加されました。
 りわ
りわこのテンプレートは「ライフWiki」というページの中に「シンプルメモ」「リーディングリスト」などのページがある、という構造になっています。
下層にあるページは「子ページ」と呼ばれます。

「リーディングリスト」をクリックするとリーディングリストのページが開きます。
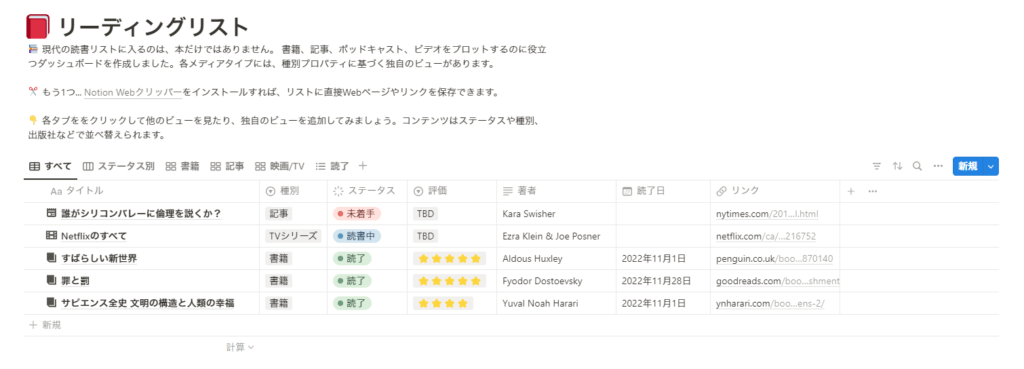 りわ
りわこの表のようなブロックは「データベース」と呼ばれます。
横軸の1項目ごとがページで、縦軸は「プロパティ」といいます。
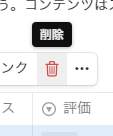
デフォルトのデータは、選択し削除してしまいましょう。

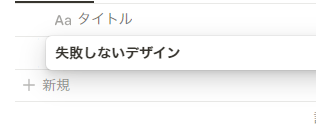
行を追加して、新しい項目を作ります。

本のタイトルを入力して、Enterを押します。
プロパティを設定すると、データの分類がとても便利にできるようになります。
りわプロパティにもさまざまな種類があります。
ぜひ触ってみてください。
選択式のプロパティは、枠内をクリックすると選択肢が出てきます。
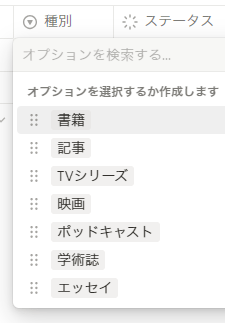
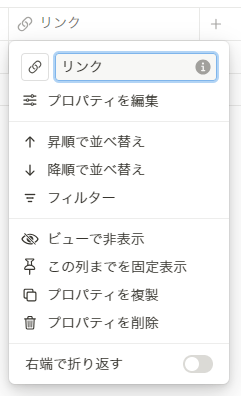
自分でプロパティを編集したり、削除したりすることもできます。
プロパティ名を左クリックで下のようなポップアップが出ます。
 りわ
りわ変更や削除はテンプレートの元データには影響しないので安心してカスタマイズしましょう!
もう一度「テンプレートを入手」から追加すれば最初からやり直せます。
入力するとこんな感じです。

1行ごとがページになっているので、本のメモを残すことができます。
タイトルにカーソルを合わせると出てくる「開く」をクリックします。
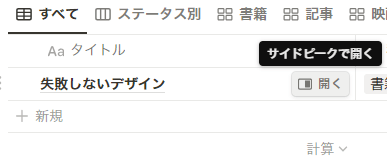
画面の半分でページが開きます。
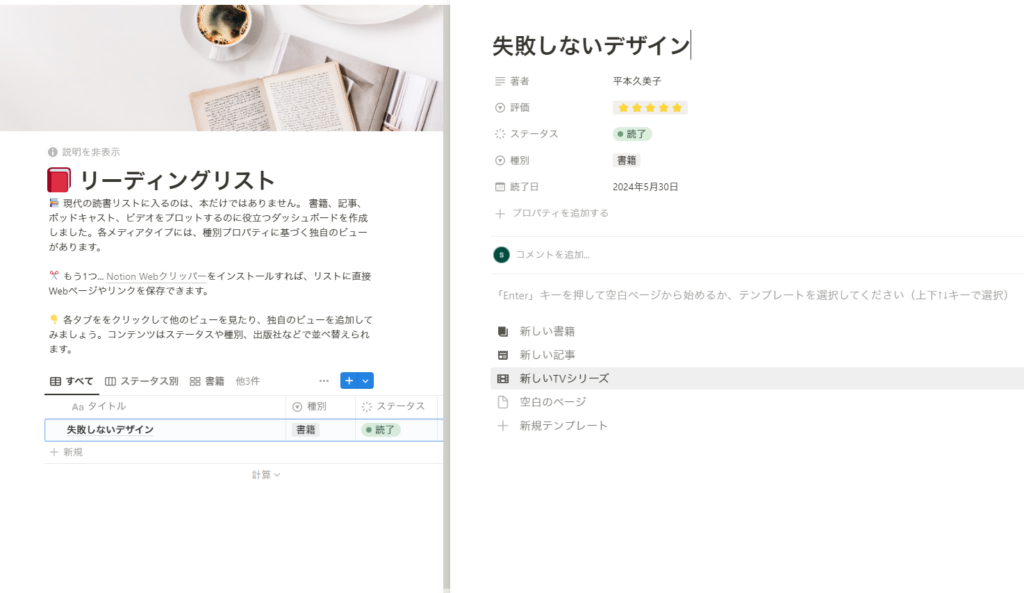
使い方は通常のページと同じです。
メモにもテンプレートが用意されているので、選択して使ってもよいでしょう。
 りわ
りわデータベースは非常に奥が深いです。
テンプレートをカスタマイズして、便利なページを作っていきましょう。
Notionでやってみよう④ポートフォリオを作って公開する
Notionのページはデフォルトで非公開ですが、設定するとWebページとして公開することができます。
クリエイターの方に必要なポートフォリオも、Notionで作ることができます。
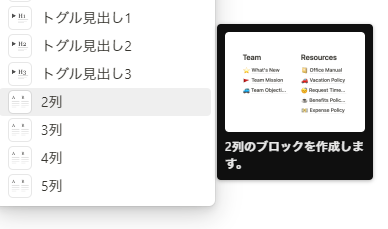
見た目の良いページを作るには、カラムを設置するのがおすすめです。
コンテンツを横並びにすることができます。

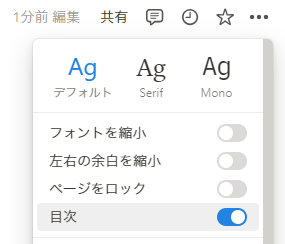
右上のメニューをクリックして、「左右の余白を縮小」をオンにするのもおすすめです。
ページができたらすぐに公開できますが、URLのサブドメイン部分(「○○.notion.site」の○○)をカスタマイズすることができます。
サイドバーの「設定」→ポップアップの「設定」の「パブリック設定」のところにドメインの欄があります。
「自分で設定する」をクリックします。
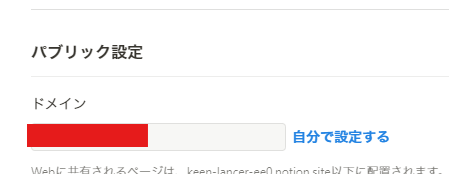
任意の文字列を入力して、保存します。
ページ右上の「共有」をクリックします。

ポップアップの「Web公開」を選択し、「公開」ボタンをクリックします。
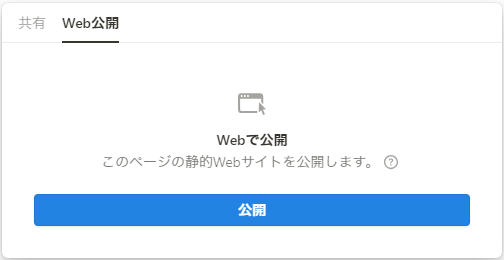
これで、ページがWebサイトとして公開されます。
公開後に検索などの設定ができます。
「公開停止」をクリックで非公開に戻せます。

公開したページが子ページを含む場合は、子ページもすべて公開されます。
公開設定には十分注意しましょう。
りわポートフォリオに画像や動画、音声を載せると、フリープランでは容量を超えてしまうことがあります。
画像を圧縮したり、YouTubeに投稿して埋め込みブロックを使ったりするのがおすすめです。
Notionを使いこなして仕事や勉強を効率化!-まとめ
Notionの基本的な使い方を見てきました。
この解説を実践すると、以下のことができるようになっているはずです。
- ページを作る
- ブロックを配置する
- テンプレートを使う
- データベースを使う
- Webページとして公開する
 りわ
りわ失敗しても、Ctrl+Zで元に戻せば大丈夫です。
ぜひNotionを使って、仕事や勉強など日々の生活を効率化していきましょう!